
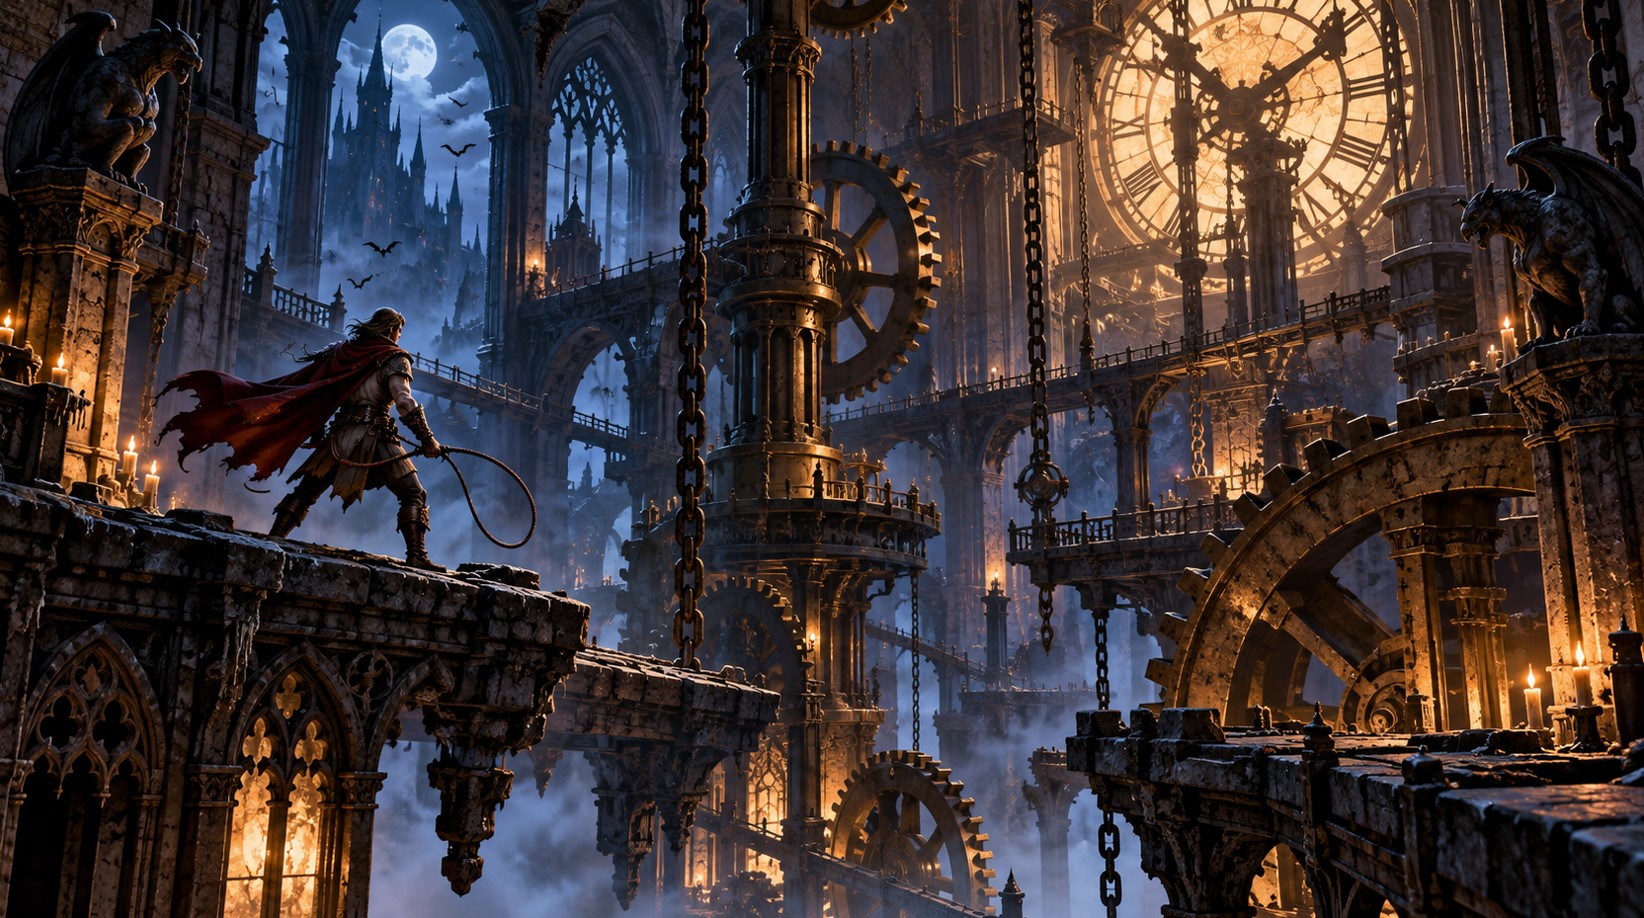
Castlevania Belmont’s Curse Clock Tower Is Two Regions Wearing One Name
You cannot finish this place the first time you walk into it. That is not a secret, and it is not a soft gate you can brute-force with patience. The route to the top of the tower is sealed behind an ability you obtain in Notre-Dame, much later in the story, and if you walk through the gate without it, the game plays you an ending. An actual ending. Credits and everything.
That single fact reorganises how the whole region should be approached, and it is why this is written as two separate trips rather than one walkthrough. Eleven days after Evil Empire and Konami put the game out on October 15, the Clock Tower has become the region players most often arrive at too early, do most of, and then leave half-finished without quite understanding why.
So: what to take on the first visit, what the gate actually does to you, and what the tower turns into when you come back armed.
| The Region at a Glance | |
|---|---|
| Sub-areas | 32 |
| Mirrors of Life | 3 – Foundry Apex, Mechanic’s Ascent, Eastern Summit |
| Bosses | 2 – Talos and Isaac |
| Relics | 5 |
| Weapons | 4 |
| Red clock switches | 7 |
| Secret Areas | 36, of which 15 hold something |
| XP statues | 14, at 350 XP each |
| Heart Fragments | 3 Brave, 3 Wise |
| Stat books | 1 ATK, 2 DEF |
| Connects to | Main Hall, Library, Master’s Quarters |
Fourteen statues at 350 XP each is 4,900 experience sitting in the walls, which is a meaningful chunk of a level at the point in the game where you first arrive. Worth sweeping properly rather than running past.
Visit One Starts on the Forgotten Bridge
You enter from the Library, crossing the Forgotten Bridge after the Rhetoric Shelves and the armillary sphere section. The Ferryman’s Wharf sits on that bridge, which gives you a travel link back out before you have climbed anything.
The climb itself runs roughly like this:
- Mechanic’s Ascent, where you meet the Ferryman and find a Mirror of Life, plus the Halberd in a lever-gate Secret Area on a raised platform.
- Eastern Access Shaft and Serpent Pinion, threading rotating gears and floor spikes, with the Sinister Rune relic on a stone pillar.
- Daedalus Crossing, the single richest room in the region – two relics, a DEF book and three XP statues, all behind Secret Areas.
- Upper Gallery, holding a Wise Heart Fragment.
- Clock Tower Bridge, where a large glowing clock sits waiting, and where you should stop.
Daedalus Crossing deserves a flag. Six Secret Areas, four of them empty, and the two that matter are easy to walk past: the Vile Trinket sits high up inside a hidden passage, and the Hollow Bone is at the far left of the slamming-block room. If you are collecting relics, that room is worth a slow second pass.
The Three Switches in the Eastern Access Shaft
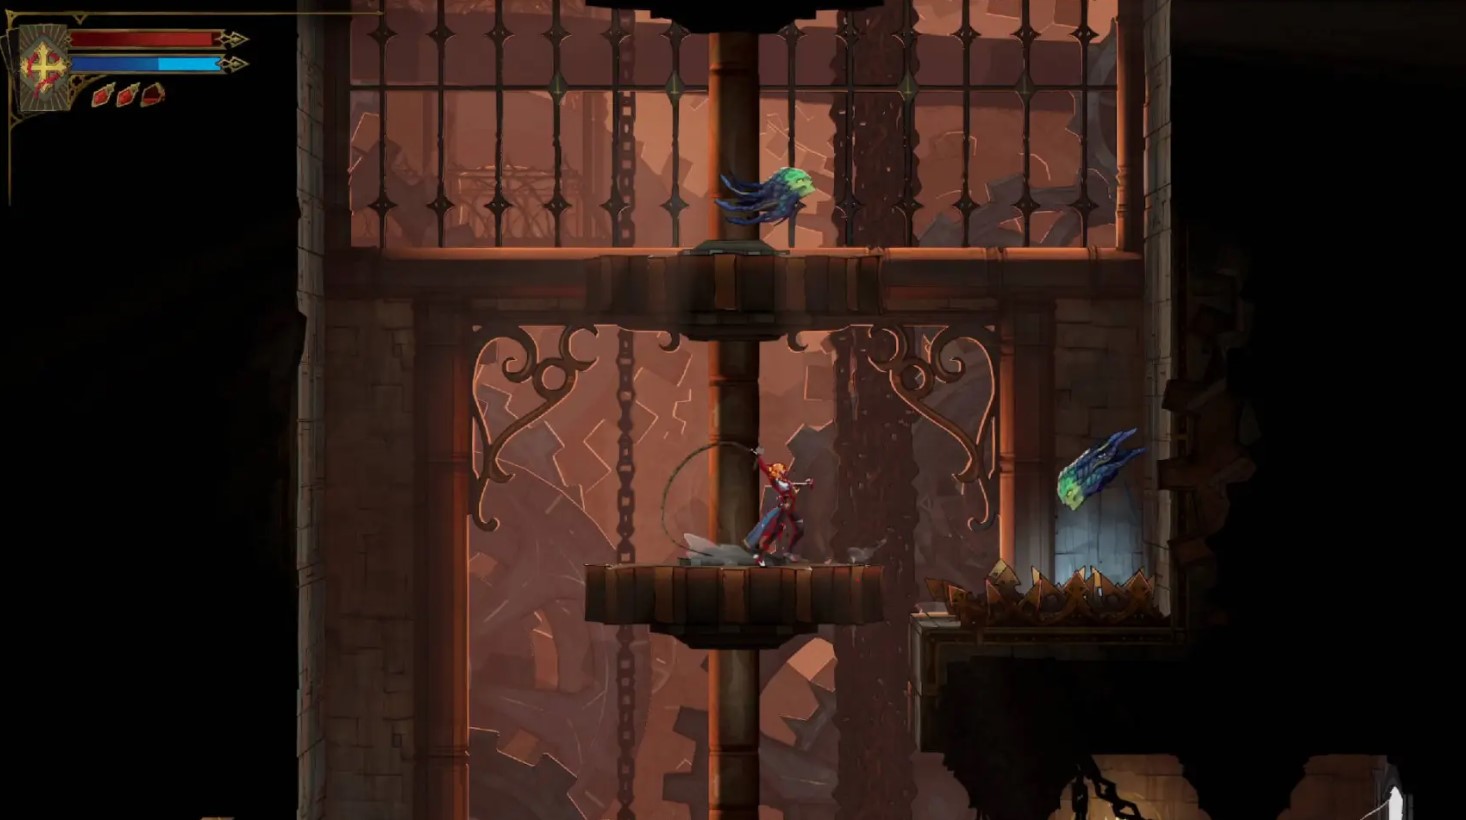
The first real puzzle in the tower, and it is a good one because it teaches you the region’s whole vocabulary in one room. Three switches, marked on your mini-map with three icons. All three have to end up vertical at the same time. Line them up and a giant mechanical fist punches down through the stone floor beneath you, opening the path onward.
The order matters because one of the switches has to be set the wrong way temporarily:
- The switch near the entrance goes horizontal first, which opens the way upward. A large bird enemy guards the platforms on the climb.
- The switch at the top of the shaft gets flipped vertical on your way back down, after you grab the item on the upper ledge.
- The switch at the base, down the left-hand path, goes vertical last.
- The main control switch then triggers the fist.
Leave any one of them horizontal and the fist swings without breaking anything, which is the kind of failure state that reads as a bug rather than a mistake. It isn’t. Check all three icons on the map before pulling the lever.
Below the shattered floor is a corridor of fast fist traps and enemies. Clear the enemies first, then walk up to the very edge of the fists’ range to get your rhythm in step with theirs – and then wall-jump off the right-hand wall at the end to clear the last one. The ATK UP book is along this corridor, tucked in an upper-right niche behind a crushing block in the Counterweight Chamber.
That path ends at Talos.
Talos and the Ability That Opens the Rest of the Tower
The Throne of the Builder sits past Foundry Apex and the Final Trap, reachable either by the upper route or the Builder’s Secret Elevator, through crushing weights and spike pits.
Talos is armoured, and ordinary attacks do nothing to his body. The fight has a specific shape:
- Destroy the blue shield drones circling him, which drops his shield.
- Climb the side platforms and hit the exposed orange core in his chest.
- Drop behind platforms when he throws fire projectiles or lays explosive mines.
- The Arcane Whip is your tool for repositioning between phases.
- His punches hit hard, so the side platforms are a position rather than a hiding place.
He gives up the Builder Arcana, the Fist of Talos spell, and – the important one – Smash, which breaks destructible blocks underneath you when you press down and jump in mid-air.
Smash immediately pays for itself. There is a cracked golden floor near his arena that opens into the Builder’s Bureau, where a chest holds the Fists of Talos weapon. That is the tower rewarding you for a new ability roughly ten seconds after handing it over, which is the sort of design that makes a region feel built rather than assembled.
The Castlevania Belmont’s Curse Clock Tower Trap You Should Read About First
Here is the thing that catches people, and it catches them because it looks exactly like progress.
On Clock Tower Bridge there is a large glowing clock. Interacting with it opens a route toward the throne room. That route is Death’s trap: a false Master’s Quarters, and a scripted Bad Ending with credits.
What it is not is a disaster. Pick Resume after the credits roll and you are back at your save, and play picks up again at the Mirror of Life in Mechanic’s Ascent. You lose time, not progress.
What you need to pass it properly is Soul Harvest, the spell attached to The Shadow Arcana, which Death drops in the Transept at Notre-Dame – a long way from here in story order. Equip the arcana, equip the spell, and then interact with the clock. That disables the Cursed Horologium and opens the real route into the upper machinery.
So the honest instruction for a first visit is: do Talos, strip the lower tower of collectibles, then leave. The Forgotten Bridge and the three Mirrors give you plenty of ways back. Anything above Clock Tower Bridge is a second-visit problem, and trying it early costs you a cutscene and a credits roll you cannot skip.
Visit Two Runs on Red Clock Switches
Come back with Soul Harvest and the tower changes genre. The lower half is a Metroidvania region with gears in it. The upper half is a timing gauntlet built entirely around one mechanic.
Seven red round clock switches. Hit one and the machinery near it slows down for a short while – gears, saw blades, crushing blocks, collapsing stairs. The screen takes on a green tint while the effect is running.
Three things about them that the game does not spell out:
- There is no timer and no HUD indicator. The green tint is the entire readout, which means you are judging a window by colour rather than by a number.
- You have to move immediately. Standing next to the switch admiring the slowed gears wastes most of the window.
- Failing is cheap but slow. You go back to the switch and hit it again, which is why these rooms feel punishing rather than difficult.
Here is where all seven sit and what each one buys you.
| Sub-area | Switches | What Slowing It Gets You |
|---|---|---|
| Clock Keeper’s Atrium | 2 | Crossing the gears, then the high exit on the right via the yellow grapple anchors |
| Bridge of Haste | 1 | Conveyor belts and saws, while skeleton archers and an armoured knight interfere |
| Eastern Summit | 2 | Climbing the crushing blocks in the shaft, then running left beneath slowed pillars |
| The Gauntlet | 1 | Spiked blocks and platforms, then the spinning saw hallway to a pedestal on the right |
| Steps of Time | 1 | Climbing the staircase east before it collapses |
The second Eastern Summit switch is the meanest of the seven, because the pillars it slows are below you and mistiming the run left means being crushed rather than taking a hit. The Gauntlet is the longest, and it ends at a pedestal holding a Brave Heart Fragment, so the detour is worth taking rather than sprinting past.
Eastern Summit also holds a Mirror of Life, a DEF book, two XP statues and the exit toward the Master’s Quarters, which makes it the practical base camp for the top of the tower. Save there before the Steps of Time.
Fighting Isaac at the Heart of the Castlevania Belmont’s Curse Clock Tower
Climb the Steps of Time, step onto the raised walkway, and Isaac greets Rose with “The prodigal daughter returns.”
This is the rematch. The first time you met him, at the Castle Drawbridge, the fight turned out to be an illusion and gave you nothing but story. This one is the real thing, and it is built around the region’s theme in the most literal way available.
His numbers, before anything else:
- Health: 2,500.
- Attack: 50.
- XP on defeat: 1,000.
- Phases: 5.
Those five phases work in a way worth understanding before you walk in. When his health reaches zero, he reverses time and restores it completely. That happens four times. You are not whittling down one health bar; you are winning the same fight five times, and each repetition is faster and busier than the last, with more clones, more clock sigils and more frequent appearances from the floating dial.
Which means resource management, not aggression. Hold your mana and your heaviest attacks for the later phases, because the early ones are the easiest version of this fight you will ever see.
The arena helps. It is an iron bridge with railings in front of a huge purple clock face, and there is an open lower level beneath it. Dropping down and jumping back up avoids most of his beam work, and learning that movement early makes the back phases survivable.
His attacks and the tells to watch:
- Spear dash – a dark green aura, sometimes with clones. Dash through or jump over it and hit his back.
- Clock-sigil beams – a stationary black ring with Roman numerals is the only warning. A vertical green beam drops through it, then a horizontal beam sweeps the bridge. Step out of the vertical line, drop to the lower level as the sweep reaches the walkway, then jump it near the wall.
- Tethered throw – the spear flies straight with a thin line behind it. Jump the line and punish the pull-back.
- Clones – green copies out of black rifts. Ignore them entirely and track the real one.
- Needle fan – he hovers inside a ring of spears. Move through the gaps or drop below.
- Dial and cocoon – a large dial, black tendrils and a sphere. Stay outside the dial, jump the vines, hit the sphere.
- Parry stance – he shouts a line when he raises it. Do not attack into it; the counter is unavoidable and you cannot slide through him.
- Grab – a close-range lunge with no slide escape, so keep your distance.
The spinning spear cycle restarts about every twelve seconds, stopping at three rings before dropping and returning to him. That is the most reliable clock in the fight, and counting it is more useful than reacting to it.
What does not work on him is a longer list than usual. He cannot be frozen, petrified, lifted or slammed. Chains of Justice will not root or stun him, and the launch from Infernal Pyre does nothing. Bleed and burn still apply, which is why Blood Spikes and Infernal Pyre remain worth bringing even with their crowd control stripped out.
His best openings come straight after a beam volley or a spear charge, especially from behind.
Beat him and he kneels. Hit the golden orb that appears to absorb it, and you walk away with The Zealot Arcana, a time-themed plunging spell, and the Legendary Chauve-Souris spear, which sits beside his planted weapon.
Everything Worth Carrying Out
Pulled together, since the region’s loot is spread across both visits.
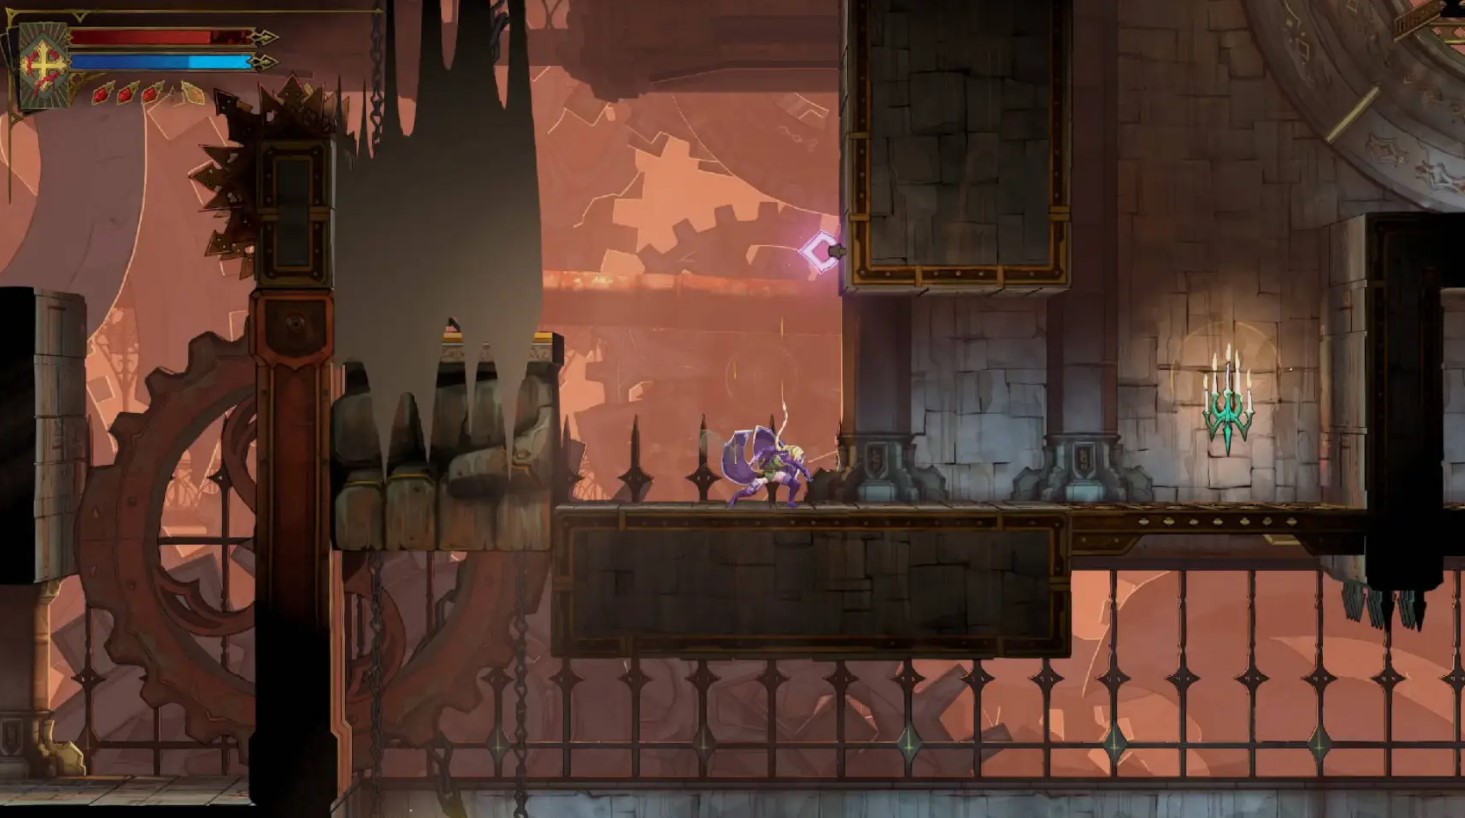
- Relics: Phantom Ring in Western Ascent, in a lower-left alcove behind rotating gears. Moonlit Shard in Path of the Builder, after an enemy wave. Sinister Rune in Eastern Access Shaft, on a stone pillar. Hollow Bone and Vile Trinket both in Daedalus Crossing.
- Weapons: Halberd in Mechanic’s Ascent. Claymore from the golden ornate chest in The Way of the Fist. Fists of Talos in Builder’s Bureau, behind Smash. Chauve-Souris in Heart of the Clock, after Isaac.
- Heart Fragments: Brave in Serpent Pinion, Eastern Steps and The Gauntlet. Wise in Central Fuel Reservoir, West Tower Base and Upper Gallery. Four of a kind upgrade you by twenty.
- Stat books: ATK in Counterweight Chamber, DEF in Eastern Summit and Daedalus Crossing.
Note how cleanly that splits. Almost every relic and weapon is first-visit material. The second visit is a boss, a Heart Fragment, a DEF book and a spear. If you are optimising a route, the lower tower is where the hours go.
What Players Are Saying Eleven Days In
Community reaction to this region specifically has been warmer than the game’s general traversal discussion, which is worth separating out.
On Steam, one player singled out the Clock Tower approvingly for its floating medusa heads as a deliberate callback to older Castlevania games, and praised the region’s branching rooms as among the strongest exploration in the game. Another noted that some secrets are too obvious while others still landed.
The complaints aimed at the tower are mostly complaints about the game’s movement. Players have described the pacing as glacial with rough backtracking, suggested Rose’s movement speed needs raising by around thirty percent, and compared her unfavourably to Hollow Knight: Silksong and Metroid Dread. One player called the traversal difficulty inconsistent and pointed to an area that traps you unless several abilities are timed just right – which is a fair description of the red-switch rooms. Others argue the deliberate pace is the Castlevania house style and working as intended.
Both readings are defensible, and the Clock Tower is where the argument gets its best evidence in either direction. A region built on short windows and slowed machinery is thrilling if you like timing puzzles and tedious if you keep repeating the same thirty-second run.
For context, the game reviewed well overall – 87 on Metacritic for Xbox Series X|S, 84 on PS5, 82 on PC and 79 on Switch, with OpenCritic reporting 96% of critics recommending it.
FAQ
Why does the Clock Tower give me a bad ending?
Interacting with the glowing clock on Clock Tower Bridge without Soul Harvest equipped sends you into Death’s trap and a false Master’s Quarters, which plays a scripted Bad Ending. Pick Resume after the credits and you return to your save.
What do you need to reach the top of the Clock Tower?
Soul Harvest, the spell from The Shadow Arcana that Death drops in the Transept at Notre-Dame. With it equipped, the clock on Clock Tower Bridge opens the real route into the upper machinery.
How does the three-switch puzzle work?
All three switches in the Eastern Access Shaft have to be vertical simultaneously. Set the entrance switch horizontal first to open the climb, flip the top switch vertical on the way down, then the base switch, then trigger the main control to drop the mechanical fist through the floor.
What do the red clock switches do?
Each of the seven slows nearby machinery for a short window, tinted green on screen. There is no timer or indicator, so move the moment the effect starts.
How much health does Isaac have?
2,500, with 50 attack and 1,000 XP, across five phases. He reverses time and fully restores his health four times, so each phase is effectively a fresh fight.
What works against Isaac?
Bleed and burn, which is why Blood Spikes and Infernal Pyre stay relevant. He cannot be frozen, petrified, lifted or slammed, and Chains of Justice will not root or stun him.
How many collectibles are in the Clock Tower?
Five relics, four weapons, six Heart Fragments, three stat books, 14 XP statues worth 350 each, and 36 Secret Areas of which 15 contain something.
A Region That Makes You Come Back Properly
What elevates the Clock Tower above a gimmick stage is that the gimmick is structural rather than decorative.
Plenty of games put a clock tower in the back half and fill it with gears. This one builds an entire progression gate out of the idea, splits the region in half with a trap that costs you an ending if you walk into it blind, hands you an ability from its own boss that opens a floor ten seconds later, and finishes with an enemy whose boss design is literally “the clock runs backwards four times.” Every layer is the same idea expressed differently.
It also makes the strongest available case for the game’s slower movement, which is the thing players argue about most. Rose moves deliberately, and in a region where the machinery slows down rather than stopping, deliberate movement is the point. Sprint speed would flatten the red-switch rooms into nothing.
Whether that trade is worth it is a question each player answers somewhere around their fourth attempt at the pillars below Eastern Summit. But the tower is unambiguously the most coherent idea in the castle, and the single region most worth a second, slower pass once you have Smash and Soul Harvest in hand.
Just do not touch the glowing clock until Death has given you the spell. The credits are not a joke.
Climbed it without triggering the trap? Share this, bookmark it, and go count your XP statues – and if creative or commercial collaboration brought you here, the T-Minus team is one message away.