

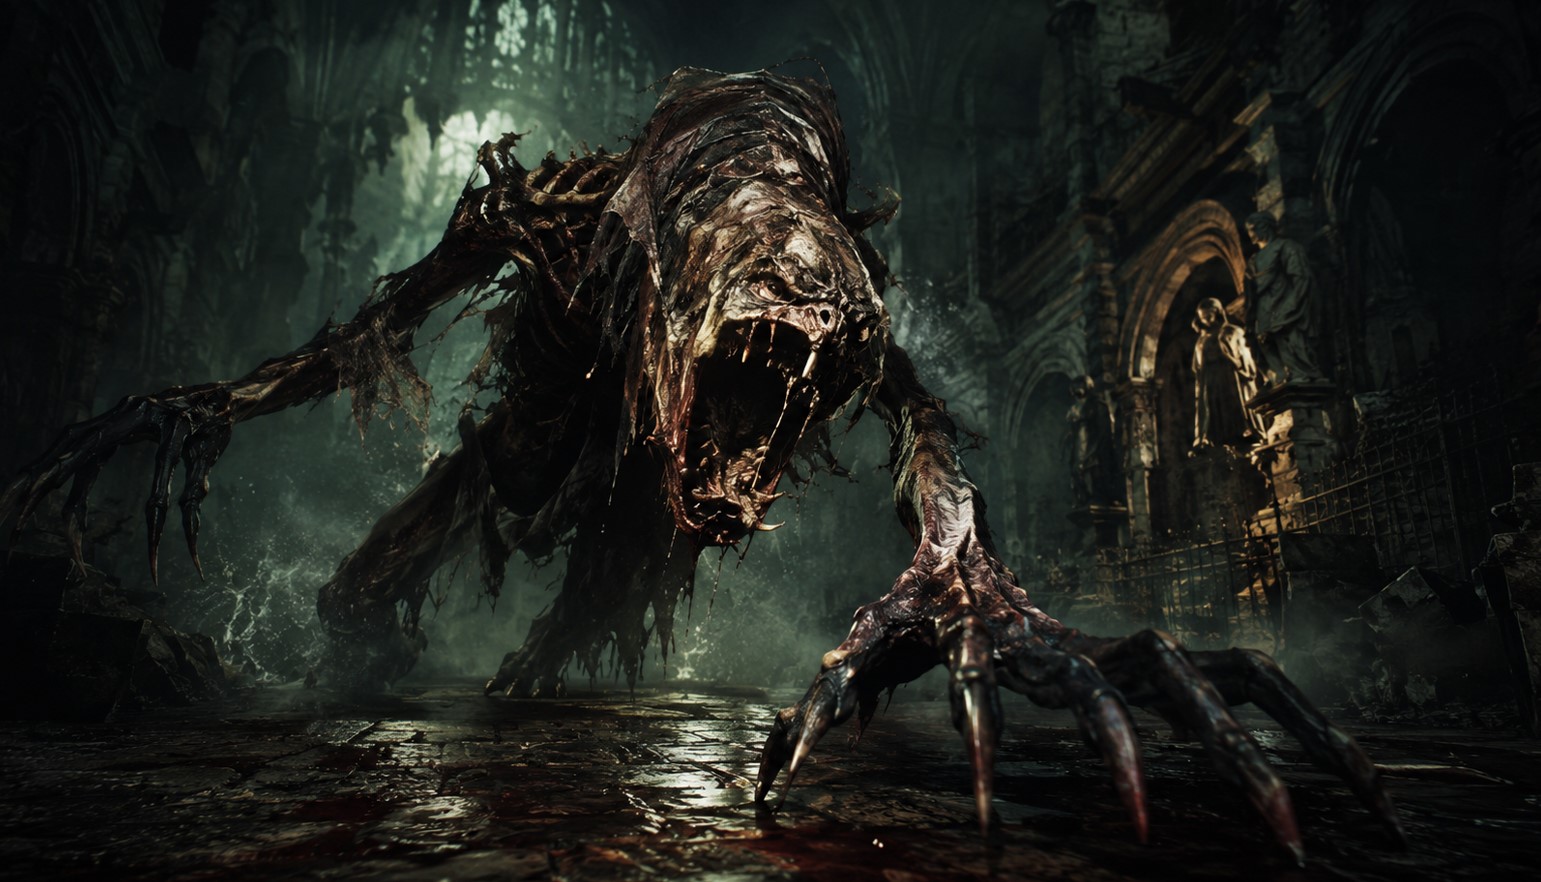
Blood Starved Beast in Bloodborne: The Wall Every Hunter Hits
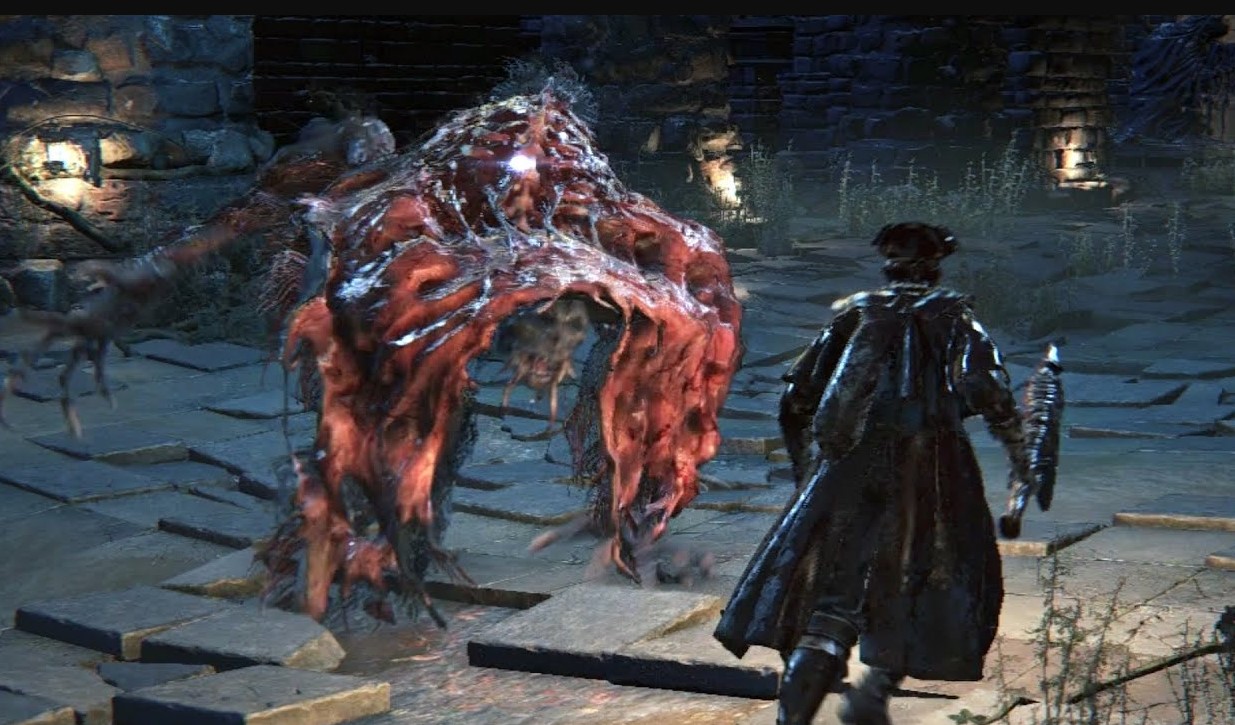
There’s a specific moment in every Bloodborne playthrough where the game stops being hard and starts being personal. For most people, that moment is a skinless dog-thing in a burnt-out church at the bottom of Old Yharnam. You’ve handled Gascoigne. You’ve cracked the Cleric Beast. You’re feeling pretty good, actually – the parries are landing, the rally system finally clicked. Then you walk into the Church of the Good Chalice, the fog gate closes behind you, and this flayed, twitching, bandage-wrapped horror comes at you sideways like it forgot which way its own joints bend. Say hello to the Blood Starved Beast! Twenty minutes later you’re out of blood vials, out of antidotes, poisoned to death, and staring at YOU DIED for the eighth time. Yeah. Welcome to the club.
Here’s the thing though – the Blood Starved Beast in Bloodborne is not actually that hard. It’s badly explained. It punishes exactly one habit that every new hunter has, and once you break that habit the whole fight collapses. Let’s sort it out.
Where You Find It (and Why You Even Should)?
The beast lives at the very bottom of Old Yharnam, in a ruined church called the Church of the Good Chalice. Getting there means crossing the whole plague-quarter, which is its own ordeal – Old Yharnam is dark, cramped, crawling with Scourge Beasts, and there’s a man named Djura on a rooftop with a gatling gun who genuinely does not want you here.
And here’s the twist most first-timers don’t realise: this boss is completely optional. You never have to fight it. Nothing about the main story requires it.
So why bother?
Because it drops the Pthumeru Chalice, and that’s the only chalice in the entire game you can get outside the Chalice Dungeons themselves. No Pthumeru Chalice, no Chalice Dungeons. That’s the whole gate. If you want to touch the Pthumerian or Hintertomb dungeons at all, this beast is standing in the doorway.
It also opens the path to Hypogean Gaol and the option to befriend Djura instead of fighting him, which is one of the more interesting bits of hidden character work in the game.
Beat it and you walk away with roughly 6,600 blood echoes, three Insight, and the chalice. You get one Insight just for finding the fog gate, which is Bloodborne’s way of telling you that seeing this thing is itself a form of knowledge. Charming.
What Are You Actually Fighting?
The design is grim even by Bloodborne standards. It looks like something the hunters flayed and then failed to finish off – muscle, bandages, exposed sinew, a head that hangs wrong. And it moves like it’s held together by spite.
Three phases, and they’re gated on health percentages rather than timers.
| Phase | Trigger | What Changes |
|---|---|---|
| Phase 1 | Fight starts | Slow, limited combos. Deceptively manageable |
| Phase 2 | 66% health | Faster, new combos, and attacks now build poison |
| Phase 3 | 33% health | It screams, rears up, and generates a permanent poison aura just from being near it |
Phase 1 lulls you. It ambles at you, swipes with its hands, and you think oh, this is fine, I’ve got this. Then the health bar hits two-thirds and it turns into a completely different animal.
Phase 3 is where the fight earns its reputation. That poison aura means you take poison buildup just by standing next to it. Not from being hit. From proximity. So every trade, every greedy extra swing, every “I can fit one more R1 in” is costing you health you can’t see yet.
And that’s the trap. That’s the habit it punishes.
The Poison Is the Real Boss
Let’s be blunt about this. Almost nobody dies to the Blood Starved Beast’s damage output. People die to slow poison, which fills a meter you’re not looking at, and then dumps a chunk of your health while you’re mid-combo and out of stamina.
So: antidotes. Plural. In your quick-select slot, ready to go.
You can grab them from the world, they drop from Carrion Crows, and Messengers sell them in the Hunter’s Dream. There are also three antidotes sitting behind the altar in the boss room itself – which is a genuinely useful thing to know, because early-game antidotes are a limited resource and running dry mid-attempt is a miserable spiral.
That’s a real complaint the community has had for years, by the way, and it’s fair. Cathedral Ward is effectively shut without 20,000 echoes. Paarl is arguably worse than this fight. So a new player who burns all their antidotes on failed attempts has basically nowhere to go except grind Old Yharnam again for more. It’s a genuine design pinch point, and it’s why so many people bounce off Bloodborne right here.
Armour helps more than you’d think. A few sets carry high slow poison resistance and are all obtainable before the fight:
- The Yharnam Hunter Set – solid poison resistance and easy to get hold of.
- The Black Church Set – another strong option available before this point.
- Gascoigne’s Set – the one you probably already picked up, and it’s genuinely good here.
Swapping armour feels like a nerd move. Do it anyway. This is the one fight where resistance stats actually matter.
Burning the Blood Starved Beast in Bloodborne to the Ground
Now the good part. This thing is a beast – capital-B, game-classification beast – and beasts in this game have one glaring weakness.
Fire. Everything that boosts fire damage works here, and it works hard:
- Molotov cocktails – big chunks of damage, but the beast is erratic and slippery, so an untargeted throw will whiff. Lock on. Throw during its recovery frames, not while it’s mid-lunge.
- Fire Paper – coats your weapon in flame for a stretch. This is arguably the single best consumable in the fight, because it just multiplies every hit you were already landing.
- The Flamesprayer – if you’ve got it in your left hand, it’s genuinely viable here.
Meanwhile, it’s resistant to Arcane and Bolt. So if you’re running an arcane build or you’ve buffed with bolt paper, you’re actively making your life worse. Don’t.
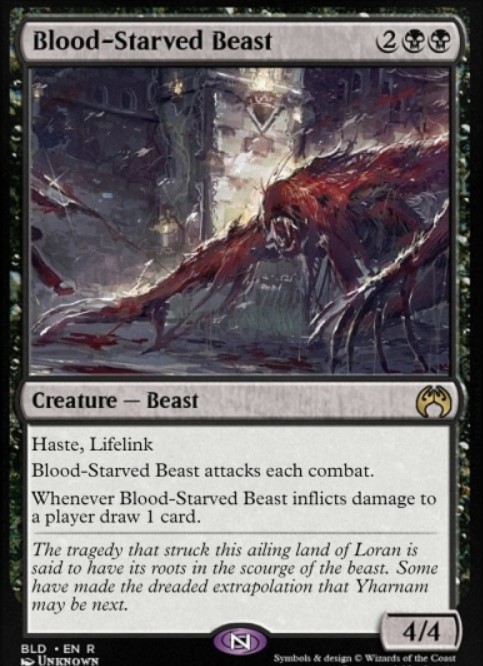
Also, since it counts as a beast, anything that raises damage against beasts works. Serrated weapons like the Saw Cleaver and Saw Spear were built for this exact category of enemy. If you’ve been running the Saw Cleaver and wondering whether to switch – don’t. It’s one of the best weapons in the game against this thing, and it always has been.
| What Works | What Doesn’t |
|---|---|
| Fire Paper, Molotovs, Flamesprayer | Arcane damage – it resists it |
| Serrated weapons (Saw Cleaver, Saw Spear) | Bolt damage – same story |
| Antidotes in the quick slot | Backward dodges. They will get you killed |
| Parries – it can be parried in all three phases | Standing in front of it. Ever |
| Circling to its side or behind | Greed. Two hits, then leave |
The One Trick That Changes Everything
Here it is. The single most important fact about this fight, and one that somehow never makes it into most guides:
Every single one of its attacks is frontal. It has no side attacks.
None. Zero. All that flailing, all that horrible speed – it’s all aimed at whatever’s directly in front of it. Which means if you get to its flank or behind it, you are safe by default, not by timing.
So stop dodging backwards. I know it’s instinct. I know backing off feels like safety. In Bloodborne, backing off is how you die, and against this thing especially – it closes distance with a charge attack specifically designed to punish anyone who ranged out.
Dodge sideways. Every time. Left or right, through and past it, then hit its flank. Two swings. Then move again. That’s the entire fight.
The arena helps you too. The church is full of pillars, and they’re not decoration. Break line of sight, get a vial down, pop an antidote, breathe. Phase 3’s poison aura also means you want space, and those pillars are how you get it without giving the beast a free charge.
A few more things the community has worked out over the years:
- Shoot it while it charges the poison aura. A pistol shot interrupts the wind-up, and the aura that follows is noticeably weaker. This is especially valuable in the Chalice Dungeon versions.
- The aura isn’t truly permanent. It lasts around twenty seconds before the beast has to roar again to reapply it. Surviving that window is the whole trick.
- Pungent Blood Cocktails distract it. Throw one, the beast goes to investigate, and you get free damage on its back. Almost nobody uses these and they’re excellent here.
Parrying Is on the Table
Worth saying loudly: the Blood Starved Beast can be parried in every phase. All three. That surprises people, because it’s so fast and so twitchy that a gun parry feels impossible. It isn’t. Its attacks are telegraphed – genuinely telegraphed, once you stop panicking – and a well-timed shot into a wind-up gives you a visceral attack that carves off a satisfying chunk.
I wouldn’t build a whole strategy on it. But if you’re already comfortable parrying Gascoigne, bring that skill with you. A couple of visceral attacks turn a five-minute grind into a two-minute one, and shortening the fight is itself a poison strategy – less time in the aura, fewer antidotes burnt.
What Happens After You Win?
Two things, and one of them nobody warns you about:
- First, the chalice. Light the lamp, grab the three antidotes behind the altar if you haven’t already, and take the Pthumeru Chalice back to the Hunter’s Dream. The Chalice Dungeons are now open. Enjoy the tombs of the gods, they’re… an acquired taste.
- Second – and this is the one that catches people – killing this boss causes Snatchers to start appearing in select spots across the Cathedral Ward and the Forbidden Woods. Big sack-carrying brutes who will bag you and haul you off to Hypogean Gaol if they finish you. That’s not a game over, exactly, but it is a very unsettling thing to have happen to you unannounced.
So congratulations. You beat the boss, and the world got worse. Extremely Bloodborne.
And you haven’t seen the last of it either. The beast comes back as the final boss of the Hintertomb Chalice, as the layer-two boss of the Ailing Loran Chalice, and there’s even one lurking in a cave in the blood river of the Hunter’s Nightmare DLC. That last one hits like a mini-boss rather than a staged fight, but it’ll still surprise you.
Which is a strange feeling, actually. Run into it fifty hours later, fully upgraded, and it’s just… an enemy. A tough one, but an enemy. Somebody on the wiki comments compared it to bumping into an old rival, and that’s exactly right. The thing that once ended your run becomes something you kill on the way to somewhere else.
That’s the whole arc of Bloodborne in a sentence.
FAQ
Is the Blood Starved Beast optional?
Yes. You never have to fight it to finish the game. But it’s the only source of the Pthumeru Chalice, so no chalice dungeons without it.
What is it weak to?
Fire. Molotov cocktails, Fire Paper, and the Flamesprayer all do serious work. It resists Arcane and Bolt, so leave those at home.
How do I stop the poison?
Keep antidotes in your quick-select slot. Wear high slow-poison-resistance armour like the Yharnam Hunter, Black Church, or Gascoigne’s sets. And there are three antidotes stashed behind the altar in the boss room.
Why does it poison me when it isn’t even hitting me?
At 33% health it enters phase 3 and generates a poison aura. Standing near it builds poison passively. That’s the fight’s real difficulty.
Can it be parried?
Yes, in all three phases. Time a gunshot into an attack wind-up and follow with a visceral.
What’s the best weapon to bring?
Anything serrated – the Saw Cleaver and Saw Spear both get a damage bonus against beasts, and this is very much a beast. Slap Fire Paper on it and you’re set.
Where do I go after beating it?
Head back to the Cathedral Ward and take the elevator in the newly opened corridor, or buy the emblem from the Messengers if you’ve got echoes to burn. And watch out – Snatchers now spawn in parts of the Cathedral Ward and Forbidden Woods.
Go Back In!
Look, this fight is a filter, and it’s meant to be. It’s the moment Bloodborne stops holding your hand and asks whether you’ve actually learned anything since the clinic. Fire on the weapon. Antidotes on the quick slot. Sideways, never backwards. Two hits, then leave. Pillars are friends. Don’t get greedy in phase three.
That’s it. That’s the whole thing. Now go and put that poor skinless creature out of its misery – and try not to feel too bad about it. It’s suffering more than you are. Probably.
P.S. Show your support for our crew by broadcasting this post across your social media feeds and bookmarking it for quick future reference. If you are looking to partner with us, please reach out to the T-Minus team directly to explore any creative or commercial collaborations. Your digital engagement fuels our daily grind, helping us count down to liftoff on our next great project!